
If your garage door jerks, squeaks, or doesn’t close evenly, you might be dealing with a misaligned track. A faulty track not only compromises the smooth operation of your door but also increases wear and tear on the entire system. Fortunately, a garage door track adjustment is a manageable task if approached with care and the right steps. In this guide, you’ll learn what causes track misalignment, how to identify it, and how to fix it yourself safely.
Common Causes of Track Misalignment
Understanding why your garage door track is out of line is the first step toward fixing it. Some typical reasons include:
- Daily wear and tear from frequent use
- Loose bolts and fasteners
- Physical damage from impact or obstruction
- Natural shifts in the structure or foundation of the garage
How to Identify a Misaligned Garage Door Track
There are a few clear indicators your garage door track may be off:
- The garage door looks crooked when opening or closing
- It makes grinding or scraping noises
- Rollers pop out or ride unevenly along the track
- You notice gaps between the rollers and the rail
- The door slows or reverses unexpectedly
Essential Tools for the Adjustment
Before you begin, gather the tools below:
- Socket wrench
- Level
- Tape measure
- Rubber mallet
- Screwdrivers
- Safety gear (gloves and goggles)

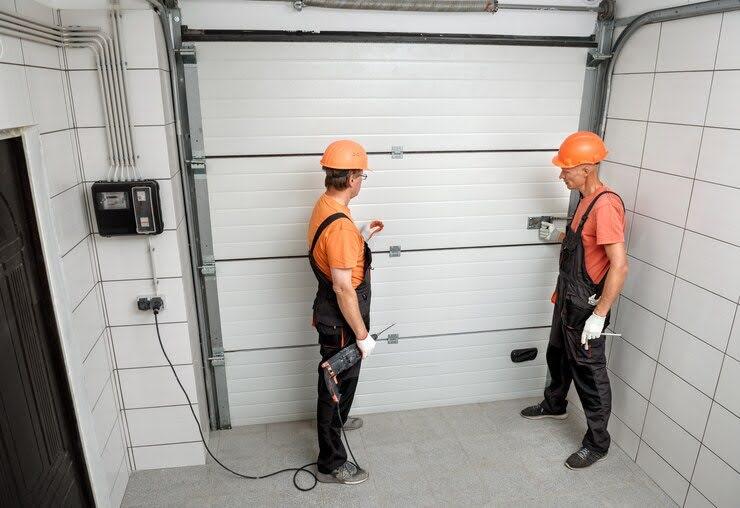
Step-by-Step: Garage Door Track Adjustment
1. Cut the Power
Always disconnect the garage door opener to prevent accidental operation.
2. Inspect and Loosen the Track
Use a wrench to loosen the bolts that mount the track to the frame. Do not remove them completely.
3. Realign the Track
With a level, check the vertical and horizontal alignment. Gently shift the track until it’s straight and aligned with the rollers.
4. Tighten the Hardware
Once properly aligned, tighten all bolts securely. Recheck with a level to confirm the adjustments are correct.
5. Reconnect Power and Test
Turn the power back on and test the garage door a few times. The motion should now be smooth and noise-free.
Important Tip: Don’t Forget Door Balance
While track alignment is key, balancing a garage door is equally important. A door that’s out of balance can stress the opener and lead to premature failure. You can test the balance by pulling the emergency release cord and lifting the door halfway. If it stays put, it’s balanced. If not, the springs may need adjustment—something best left to a professional.
What Not to Do During a Track Adjustment
Avoiding mistakes is as important as performing the right steps. Here are some no-gos:
- Forcing track movement with tools that can dent or warp it
- Ignoring signs of spring or cable issues
- Over-tightening bolts before the track is fully aligned
- Skipping the balance check
When to Get Professional Help
Some problems extend beyond a simple track realignment. Consider calling an expert if:
- Your garage door still doesn’t operate smoothly
- The tracks are bent or heavily damaged
- You hear loud snapping or grinding sounds
- You’re uncomfortable handling heavy parts
Garage doors operate under high tension, and professional technicians have the tools and training to manage risky repairs safely.
Conclusion
Adjusting your garage door track may seem complex, but with the right tools and careful attention, it’s something many homeowners can tackle. Ensuring the track is aligned and the door is balanced can extend the life of your garage system and improve its daily performance. Use this guide to fix alignment issues before they become major repairs—and keep your garage running smoothly.